
Mirror Mosaic Crochet - Basics, Advantages & Tips
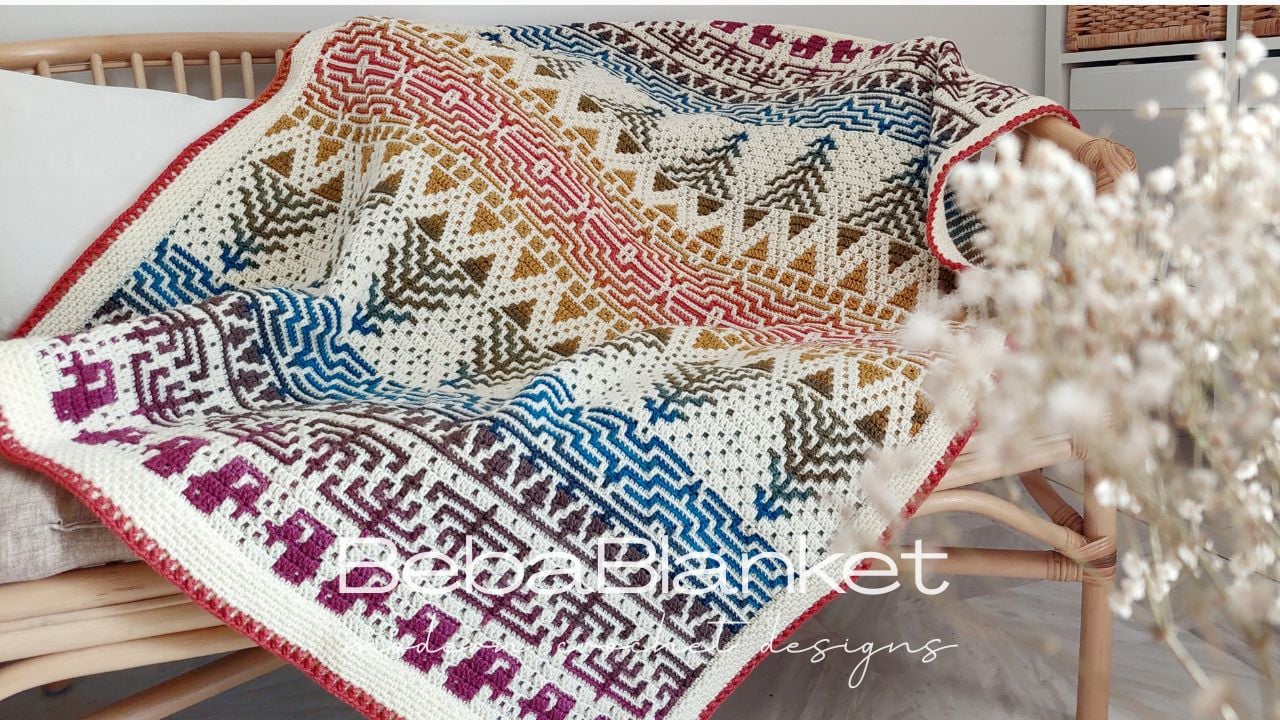
A new variation of an overlay mosaic crochet technique - MIRROR MOSAIC CROCHET. What’s special about this technique? There are several advantages of it, and you will find all the details below, but my favorite one - the even and symmetrical, l would say “mirrored” distribution of colors, especially when using the self-striping yarn.
This technique gives the greatest satisfaction of the balance!
THE BASICS
The mirror mosaic crochet technique can be used for any repeated patterns. The projects, using this technique, start in the center instead of the bottom and are worked in rows towards the top and bottom. And that’s basically the main difference between the mirror mosaic crochet and the traditional bottom-up overlay mosaic crochet in rows.
The projects start with a long tail foundation chain, which counts as row 1.
The first 2 rows are worked into the front loop of the back part of the long tail foundation chain, leaving a nice “v” in front unworked, one row from one side, another row on the opposite side of the long tail foundation chain. If the latest row includes double crochet stitches, they have to be worked into the front loop of single crochet stitches on the opposite side of the long tail foundation chain.
Let’s talk about the difference between symmetrical and non-symmetrical designs.
All rows of symmetrical designs have to be worked from both sides of your project, which means twice: first work the row towards the top of your project, next work the same row towards the bottom of the project, always the front side facing you following the same chart reading direction.
The non-symmetrical designs have to be worked differently:
First work the row towards the top of your project reading the chart from right to left, then work the row towards the bottom of your project reading the same row of the chart from left to right, always the front side of your project facing you.
The pattern will definitely tell you if the design is not symmetrical and will include the details on how to crochet it.
IMPORTANT WHEN WORKING NON-SYMMETRICAL DESIGNS
The stitch marker placed on the right side of your project when the rows towards the top of your project are on top will help you to identify whether the next row is worked towards the top or towards the bottom, so you know which direction you should read the chart.
If the stitch marker is on the right - you are ready to work the row towards the top of your project - read the chart from right to left.
If the stitch marker is on the left - you are ready to work the row towards the bottom of your project - read the chart from left to right.
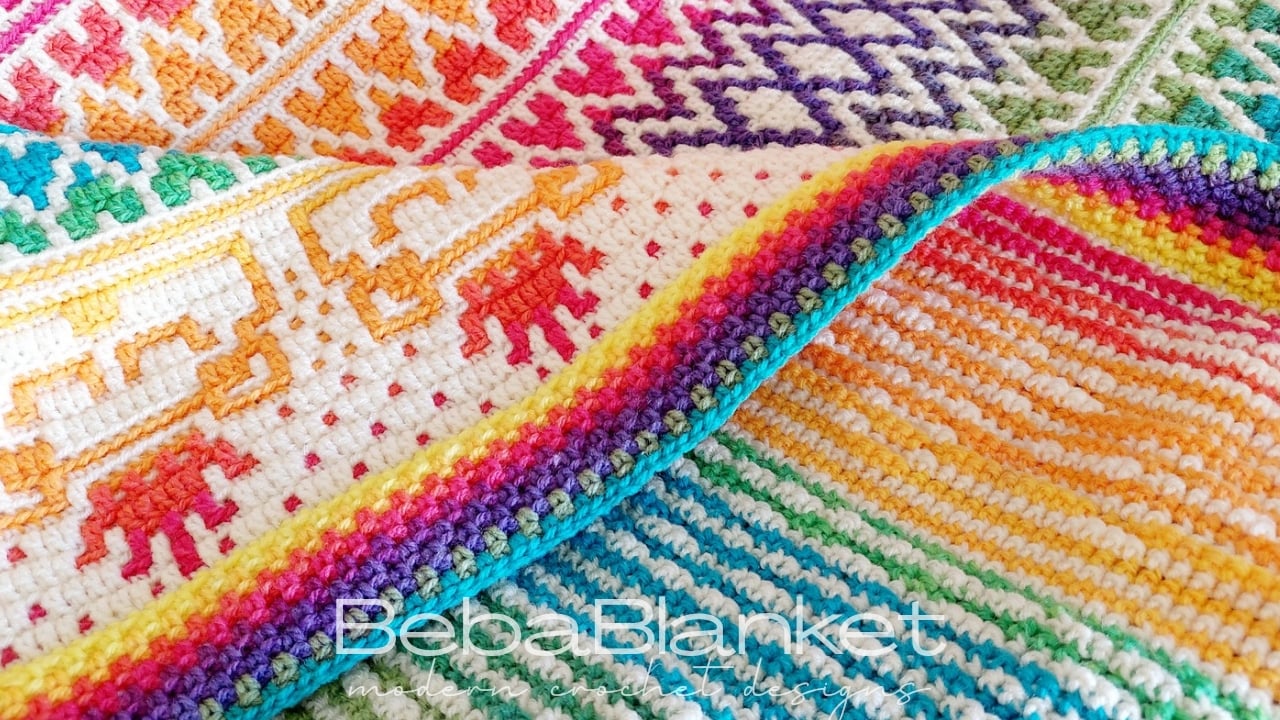
This technique naturally creates a horizontally mirrored flipped upside down pattern.
All rows are worked on the right (front) side & fastened off at the end of every row.
ADVANTAGES OF THE MIRROR MOSAIC CROCHET TECHNIQUE
- It naturally creates a horizontally mirrored (flipped upside down) pattern
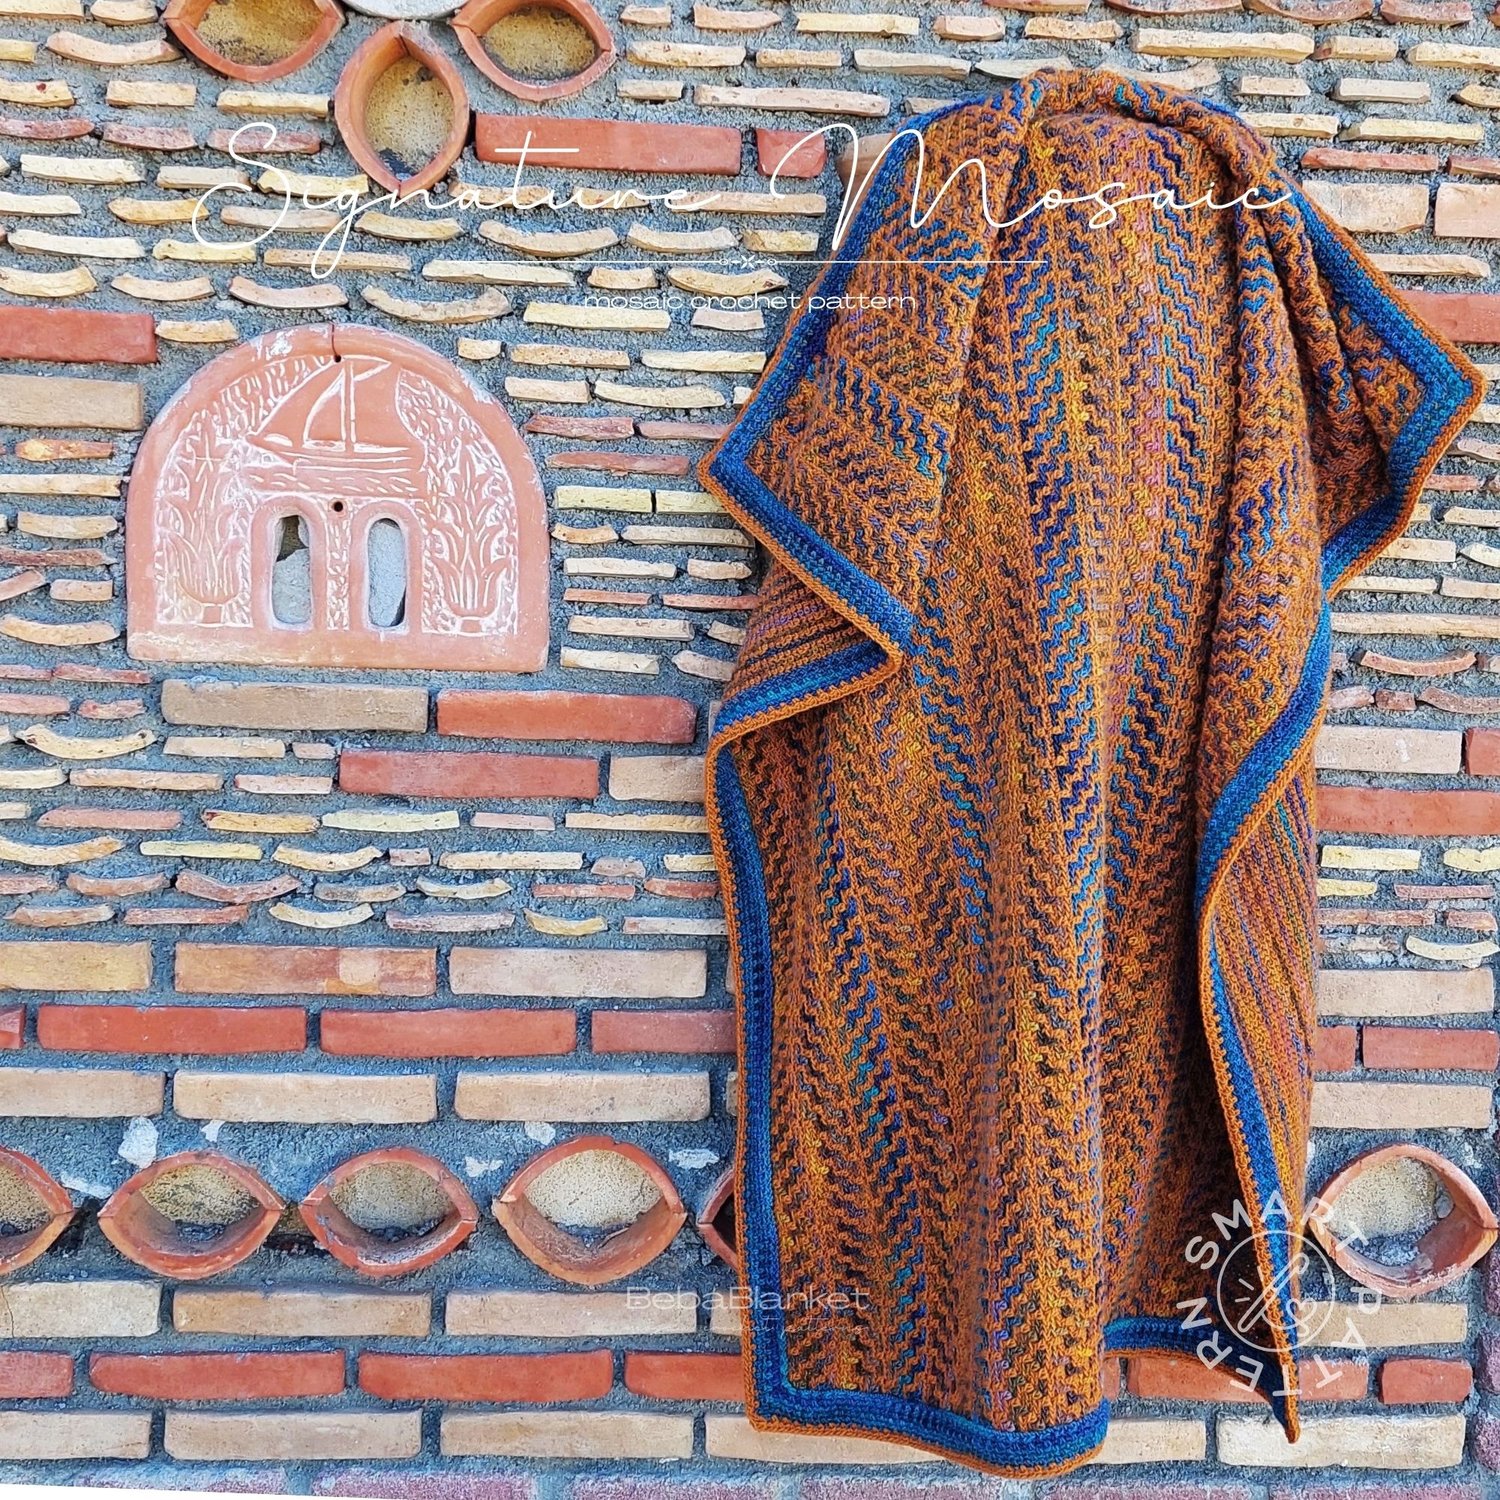
- It allows you to evenly distribute the colors if you use a self-striping, gradient, ombre yarn or even yarn scraps
- It allows you to work the projects “in sections” (stripes of designs) into desired size project without planning the layout in advance
- The bottom and top of the project are identical
TIPS TO HELP YOU OUT TO CREATE A FLOWLESS CROCHET MASTERPIECE
- Don’t work the long tail foundation chain tightly.
- If you are using a self-striping, ombre or gradient yarn, work one row towards the top of your project, then a row towards the bottom of your project. Repeat the same for all designs. This way the colors will be distributed evenly without any extra effort and planning in advance. If you wish the colors change faster, work with the same cake from both sides. To keep the color changes slow, work with 2 the same colorway cakes at the same time: one cake working the rows towards the top of your project, another cake - towards the bottom. Be sure the colors of both cakes match on every row.
- Use the same technique for the double border: “Double Border. Easy start. Three Magic Steps”.
- The first stitch on every row will be standing center single crochet, except the first 2 rows - standing single crochet.
- The last stitch on every row will be center single crochet, except the first 2 rows - single crochet.
- When working the first border round on the sides of your project, work a single crochet into the post (both “legs”/V) of the first stitch on every row, including the long tail foundation chain. Here you will have only one loop available for the stitch, so be attentive.
- If you are not familiar yet with my created double border technique “Double Border. Easy start. Three Magic Steps”, read the instructions and watch the video tutorial “Double Border. Easy Start. Three Magic Steps” before you start your project.
Double Border. Easy Start. Three Magic Steps -
MIRROR MOSAIC CROCHET - VIDEO TUTORIAL (RIGHT-HANDED)
The video tutorial to introduce you the Mirror Mosaic Crochet Technique
MIRROR MOSAIC CROCHET - VIDEO TUTORIAL (LEFT-HANDED)
The video tutorial to introduce you the Mirror Mosaic Crochet Technique


© BebaBlanket. All information, text, images, diagrams and educational material shared on bebablanket.com are the intellectual property of BebaBlanket and are protected by copyright. This material is provided for your personal use to learn and improve your crochet skills. Please do not copy, reproduce, republish, share on other websites or social media pages, or use this material in classes or workshops without my permission.